Bjorn Case Gallery
The Bjorn case is a custom-designed enclosure that perfectly houses your Raspberry Pi Zero W with the 2.13-inch e-Paper HAT display. Available in both single-color and AMS (Automated Material System) dual-color versions.
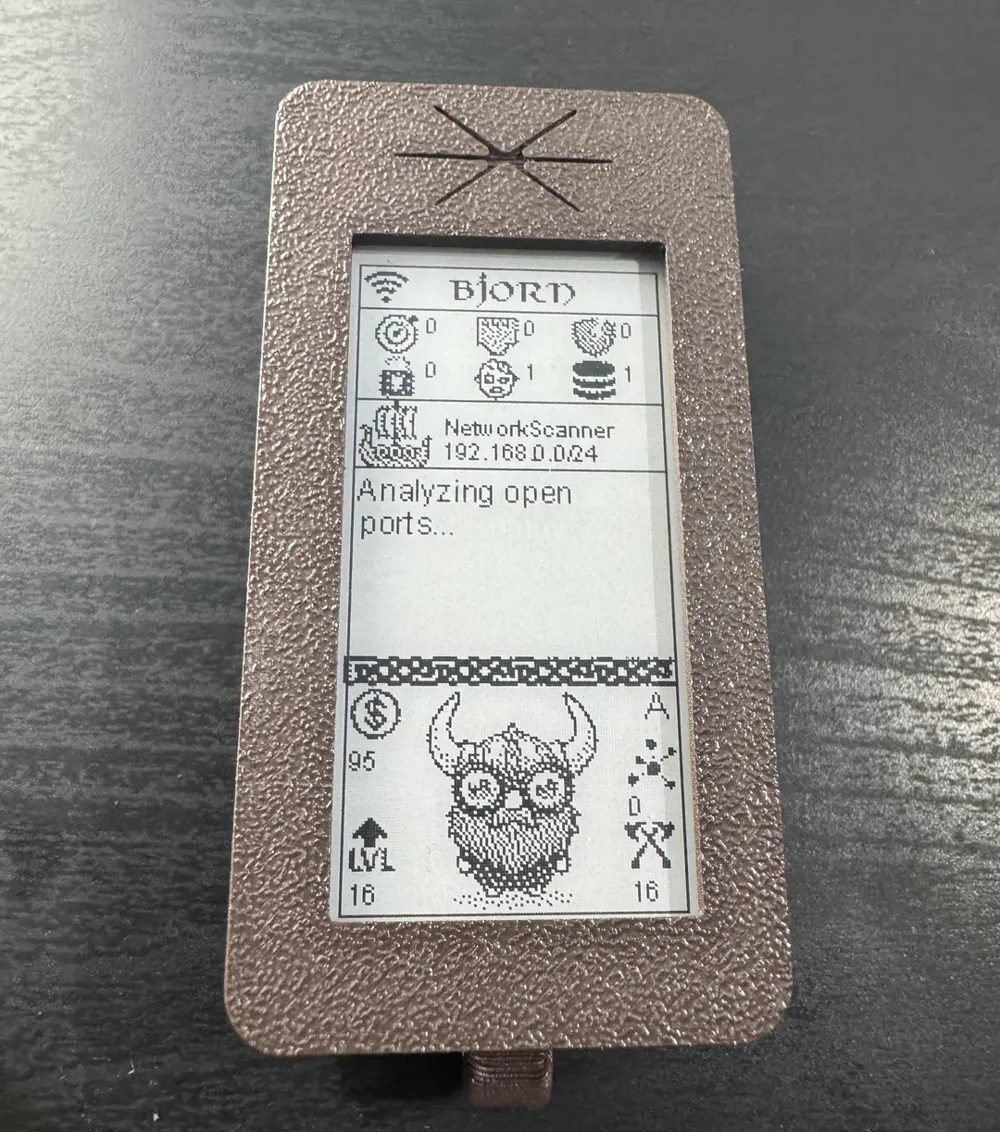
Front View
The front of the case showcases the e-Paper display window and the iconic Bjorn Viking logo, featuring clean lines and functional design.
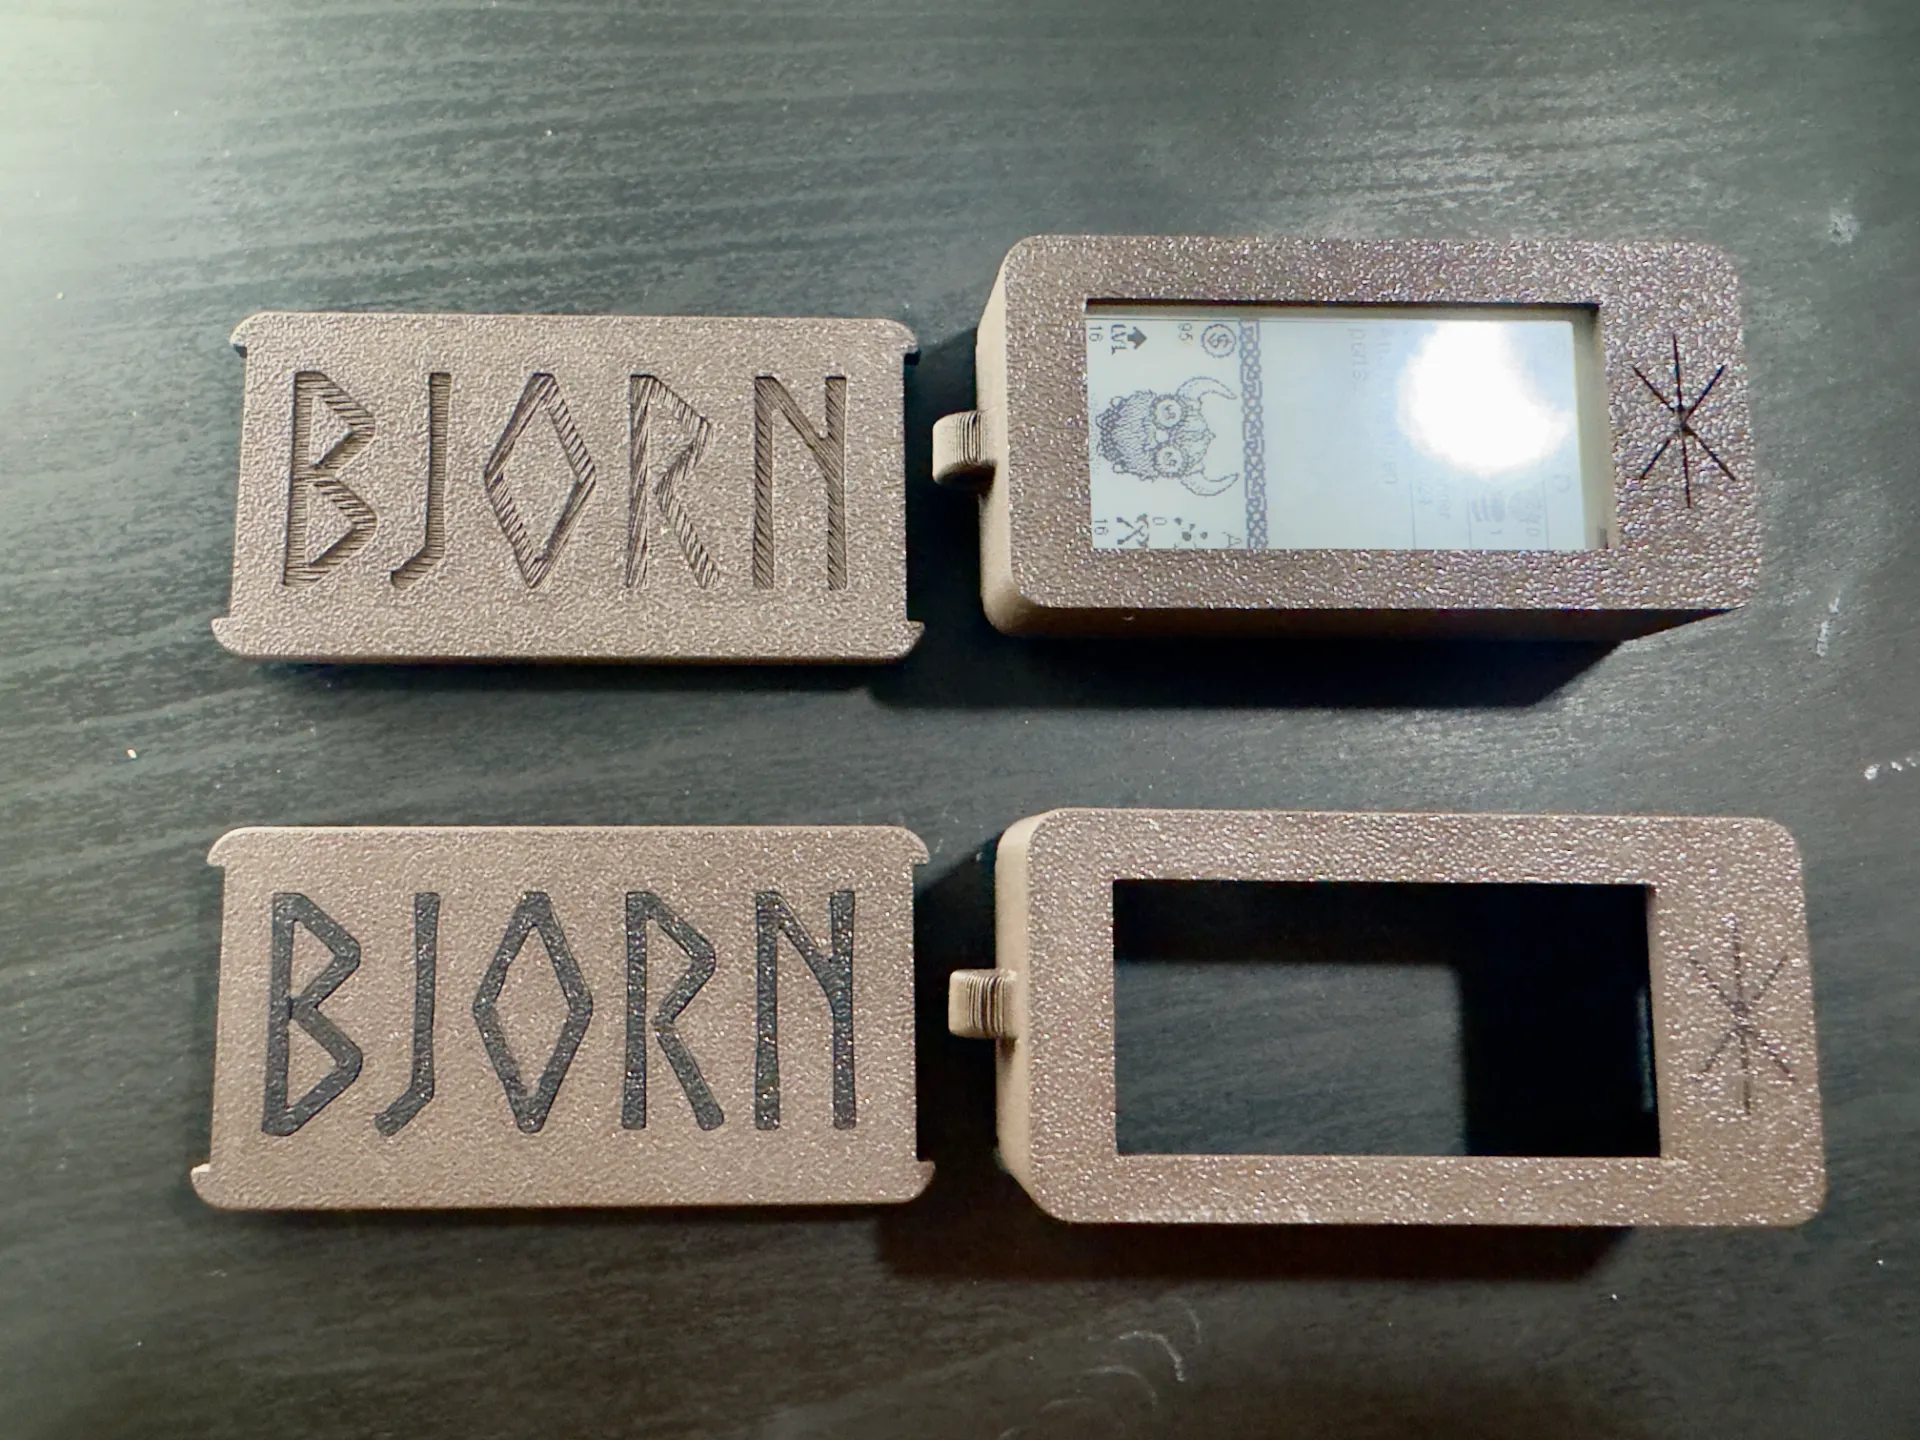
Back View - Both Variants
Comparison of the standard single-color version (bottom) and the AMS dual-color version (top), showing the precision fit and port accessibility.
Download 3D Models
Choose from multiple file formats and printing options to suit your 3D printer and preferences. All models are optimized for quality and ease of printing.
Standard STL File
Universal STL format compatible with all 3D printing software. Perfect for single-color printing and maximum compatibility.
- Universal compatibility
- Single color printing
- Optimized for FDM printers
- Easy to modify and customize
3MF Project File
Complete 3MF project file with optimized print settings, support structures, and material properties pre-configured.
- Pre-configured settings
- Embedded support structures
- Material properties included
- Print-ready project
AMS Dual-Color 3MF
Advanced Multi-Material System version with dual-color design. Features contrasting colors for the logo and enhanced visual appeal.
- Dual-color printing
- AMS system optimized
- Enhanced visual design
- Professional appearance
3D Printing Guide
Follow these comprehensive guidelines to achieve the best results when printing your Bjorn case. These settings have been tested across multiple printer types and materials.
Recommended Print Settings
Material Recommendations
PLA (Recommended for Beginners)
- Easy to print with minimal warping
- Good surface finish and detail reproduction
- Adequate durability for indoor use
- Wide color selection available
PETG (Best Overall Performance)
- Excellent chemical resistance
- Higher temperature tolerance
- Strong layer adhesion
- Crystal clear or opaque options
ABS (Professional Applications)
- High impact resistance
- Excellent heat tolerance
- Post-processing friendly (acetone vapor)
- Industrial-grade durability
Assembly Instructions
Prepare the Components
Remove all support material and clean the printed parts. Test-fit the Raspberry Pi Zero W and e-Paper HAT to ensure proper clearance.
Mount the e-Paper Display
Place the screen into the case. position it so the display aligns with the front window opening.
Install the Raspberry Pi
Carefully place the Raspberry Pi Zero W onto the screen. Ensure alignment with the GPIO pins.
Close the Case
Carefully align the top and bottom case halves, use the USB port and the lid to know the correct orientation. The case uses a friction fit design for easy assembly and disassembly.
Required Hardware & Components
Get everything you need to build your own Bjorn Cyber Viking device.
Raspberry Pi Zero 2 WH with Headers
The latest generation Raspberry Pi Zero 2 WH with pre-soldered GPIO headers. Features quad-core ARM Cortex-A53 processor and built-in wireless connectivity for optimal performance.
- Quad-core 64-bit ARM Cortex-A53 CPU
- 512MB LPDDR2 SDRAM
- 2.4GHz 802.11 b/g/n wireless LAN
- Bluetooth 4.2, BLE
- Pre-installed GPIO headers
Waveshare 2.13" e-Paper HAT V4
High-quality 2.13-inch e-Paper display HAT with excellent visibility in all lighting conditions. Features ultra-low power consumption and crisp black and white display.
- 2.13-inch e-Paper display
- 250×122 resolution
- SPI interface
- Ultra-low power consumption
- Wide viewing angle
SanDisk 16GB Industrial MicroSD
Professional-grade industrial MicroSD card designed for high endurance and reliability. Perfect for applications requiring frequent read/write operations like Bjorn.
- 16GB storage capacity
- Industrial MLC NAND flash
- High endurance design
- Temperature resistant
- Class 10, UHS-I performance
Complete Build Kit
Get all three essential components for your Bjorn build. Estimated total cost: $50-60
Affiliate Disclosure: As an Amazon Associate, we earn from qualifying purchases. These affiliate links help support the development of Bjorn and keep our educational content free. The prices shown are estimates and may vary.
Community & Attribution
Licensing & Attribution
Creative Commons Attribution 4.0 International
This work is licensed under CC BY 4.0. You are free to share, adapt, and use these models commercially with proper attribution.
Original Design Attribution
This design is remixed from the original work available on Thingiverse. We acknowledge and thank the original creator for their contribution to the maker community.
Join the Maker Community
Share your prints, modifications, and improvements with the Bjorn community. We love seeing creative variations and practical improvements!
Share Your Prints
Post photos of your completed builds on our community channels
Contribute Improvements
Submit your modifications and enhancements to the design
Get Help & Support
Ask questions and get help from experienced makers
3D Printing for Cybersecurity Projects
Learn how 3D printing enhances cybersecurity projects by enabling custom enclosures, specialized mounting solutions, and rapid prototyping of security hardware.
Security Hardware Enclosures
Custom enclosures provide several security advantages for cybersecurity devices:
- Physical Security: Protect sensitive components from tampering
- Environmental Protection: Shield electronics from dust and moisture
- Heat Management: Design ventilation and cooling solutions
- Professional Appearance: Create deployment-ready devices
Rapid Prototyping Benefits
3D printing accelerates the development of cybersecurity tools:
- Quick Iterations: Test and refine designs rapidly
- Custom Fits: Create exact fits for specific hardware combinations
- Cost-Effective: Low-cost prototyping compared to traditional manufacturing
- Design Freedom: Complex geometries impossible with traditional methods
Deployment Considerations
Important factors when designing cases for security devices:
- Signal Transparency: Ensure WiFi and wireless signals aren't blocked
- Port Accessibility: Maintain access to all necessary connections
- Mounting Options: Include standard mounting holes and brackets
- Status Indicators: Provide windows for LED status lights
Related Resources
Build Videos
Watch step-by-step video guides showing the complete build process, from assembly to configuration.
Watch VideosInstallation Guide
Complete software installation instructions and system requirements for setting up Bjorn.
Installation GuideLearning Tutorials
Master cybersecurity concepts with comprehensive tutorials on network scanning and ethical hacking.
View TutorialsHardware Components
Get the essential hardware components needed to build your own Bjorn cybersecurity platform.
View Hardware